Earlier this year, I was perusing woodworking classes at the Florida School of Woodwork. I found they were offering grants for a couple of courses. One of them was making a Dutch tool chest and the course was being taught by Megan Fitzpatrick. Someone I admire. Immediately I began filling out my grant application. About a month or so later, I received a call from a board member that helps select who these grants go to. By whatever forces lead the universe, I was fortunate enough to receive one of these grants. Come October, I made the trek over to Tampa and spent the week at the school. Classes were 9 AM to 5 PM (some of us turtles stayed a little longer).
The whole experience was great. Megan is a fantastic teacher. She helped me to see how I could work around some of the obstacles I encountered while making my tool chest. I got to cut some joinery I’ve never attempted as well as use a mix of fun hand tools (router planes rule). The week sped by and before we knew it the last day was upon us. While we got 90% of the work done, we didn’t get a chance to build out some of the inside components. Megan gave us an overview and even showed some examples. With this knowledge headed home, I was eager to finish this up.
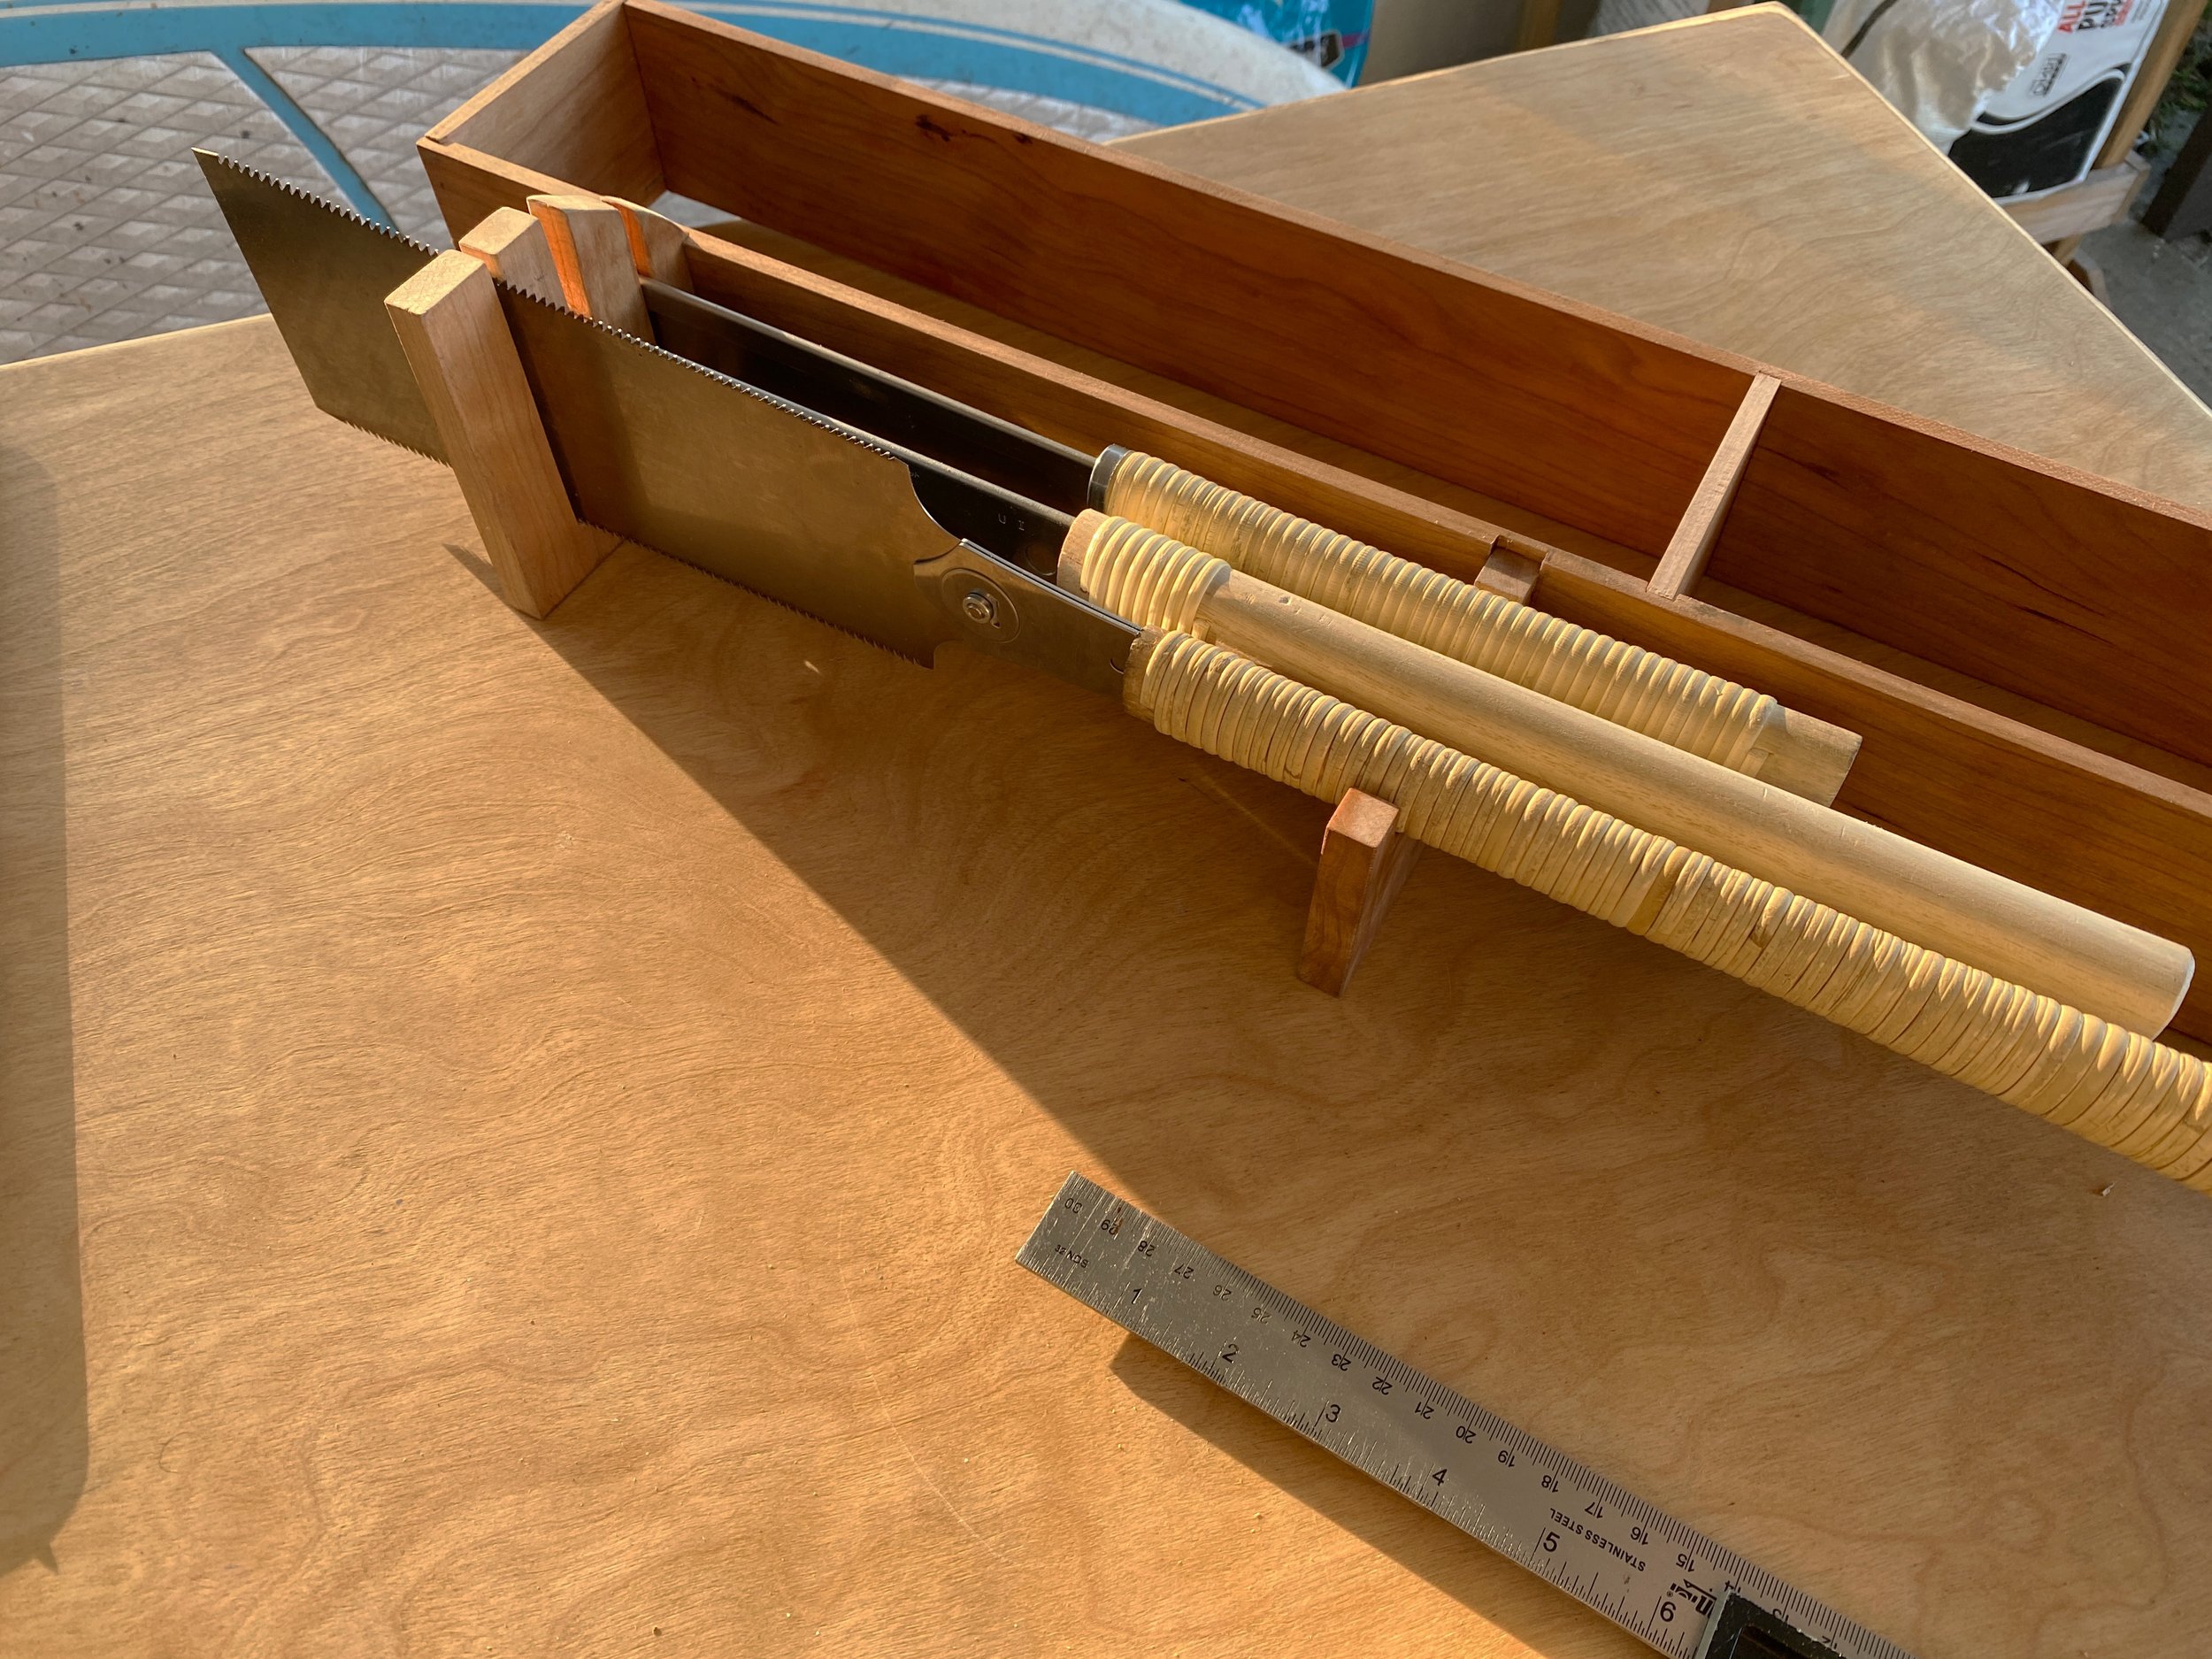
Upon my return home I had to work on a mural for a client out in Celebration (more about that in a future blog post). Coming home with the itch to keep building and having to be away for the week to do this mural tested my patience. When it finally came time to start building it out I felt this immense satisfaction. That 90% of work was going to get its remaining 10%. This chest was going to house all my hand tools and I wanted it to look great while doing so. I took it slow with this part of the build because the interior was going to be French-fitted. Which meant each tool would have its place in this box. First came the tool rack. This holds chisels, gouges, marking tools, and my slotted screwdriver. Next, I built out a cubby system that would hold my block and jack plane. The most tricky was making a saw till. I started off using Japanese saws so it's what I am most comfortable using. They are also inexpensive compared to their Western counterpart. What made this hard was the examples online of interiors showing set-ups for western saws. Making the slots for the saw blades was a simple maneuver on the bandsaw. The challenge was all the weight of these saws being in the handle. I drew out a couple of ideas on what would hold these saws parallel and test-fitted them with the saws. After many cuts and much clean up later, I achieved the result I wanted. I was going to nail the saw till to the plane’s cubby. Then I thought about what I learned in the class. So I took the chance of making some dados to join these two systems and it worked like a charm.
Now every time I use my tools I can remember all the techniques used on this chest and remind myself that I built this.
Last day of class. The bulk of the work was done but the interior looks barren.

Full body view. Check out the beautiful cast iron handles.

The whole gang is here.