Work it out by Ryan Semple

If there is one thing that has been constant in my life it’s drawing. Even if it’s not everyday I have always put an idea to paper. I am a firm believer in exercising your brain for creative growth. You can’t get muscles if you don’t lift weights.

Sometimes these ideas look good in my head. More often than not though I end up drawing the idea out and feeling indifferent toward it. The idea always feels humdrum. That doesn’t make them bad per se. Ideas typically need an evolution. It’s like expecting a musician’s demo to be the final product. It can be pretty close to the final idea. More likely though is it will go through a series of changes before reaching that desired vision. There are no hard rules for this. It’s up to you as an artist to get in-touch with your intuition to know when something looks “done”. Something that comes with practice and patience.

For some years I struggled with what I considered finished. This roots back to high school when I had a teacher who said my work look unfinished. While it stung in the moment, she was right. This advice would later push me to evolve ideas past their infancy. To this day I still feel the need to push everything one step further. This routine has helped me to see progress in my work and be explorative. Pictured in this blog are first draft ideas that haven’t evolved. One day I’ll go back and refine them.

All this to say, whatever idea you have - draw it out. Write it down. Take a picture of something that inspires you. Creative ideas are fleeting. So strike the iron while it’s hot.

Do it for you. by Ryan Semple

These last couple of weeks have been stressful and demanding. I’ve been itching for the chance to get back into the shop to build something. As a freelance artist, I often wonder how people find the time or energy to make anything for themselves. With more client work ahead, I decided to squeeze this project in.


A couple of months ago I drew up a plan for a simple caddy. It will house pour-over filters and allow my carafe to sit atop when not in use. It wasn’t a necessity. But it makes my coffee routine more convenient.


My only real goal for this build was to use wood that was already in my inventory. And to keep it as basic of a build as possible. What came to mind for wood was a wine box I got years ago. The box used has beautiful straight-grain pine. Making that a feature in this caddy was a priority. I broke the box down and cut the pieces that looked best to me. Those became the side walls of this caddy. The top and bottom pieces came from a piece of pine I found in a neighbor’s trash years ago. This particular wood plank needed a little cleaning up. A little planing revealed the coveted golden color that pine takes on with age. These scrap pieces were a match made in heaven.


There's no fancy joinery or even a finish on this caddy. It's held together with a little hide glue and wire nails. The total build time is less than 5 hours. It's the epitome of simplicity. It is form following function. And it scratched my itch to make something and already has me thinking about my next project. A sitting bench for the kitchen.

home coffee pour over station filter carafe gooseneck kettle

It doesn’t seem like much of an improvement. But having the filters close by is a lot more convenient.

One for the books by Ryan Semple

Every new year it seems I am wrapping up a project from December. The beginning of 2023 is no different. I wrapped up my boarded bookshelf. The bookshelf design came from Christopher Schwarz. He wrote a great book on furniture design. It explores historical furniture forms that are simple to build. Ever since I had the interest to build furniture I have felt overwhelmed with where to start. This book has been my compendium. But building this bookshelf has been more than another project. It was a month of self-reflection.


The last couple of months in 2022 were hard. My brother passed away in a motorcycle accident, my partner and I got robbed, and I dealt with burnout. Looking back to the start of 2022, I was eager to start my series for a solo show. I did get some work done for that but not as much as I would have liked. As the year progressed I was going off track from my original goals of 2022. I am now indifferent about not getting more work done for my solo show. I am upset that I got caught up in miscellaneous projects. Commissions, murals, and requests from friends. I work part-time and all my free time was going towards these assorted projects. I was working two jobs but none were contributing to my overarching goals. I got frustrated. I was not doing anything that I wanted to do. While I would love to freelance with art, I realized in 2021 that the work that comes with it is not so great. Most people that commission you do not care about you or your style. They want “art”. Some people are content working like this. I would rather reserve my creative energy for myself or those who value my craft. And this isn’t the first time I’ve strayed from goals. Looking back on previous years I have committed the same mistake. It really boils down to an issue with boundaries. So this previous New Year's Eve, I decided to write a list. Not for goals but reminders. These reminders will act as my guide through this year. They will guide me to finish my bird series and finally share those in person.


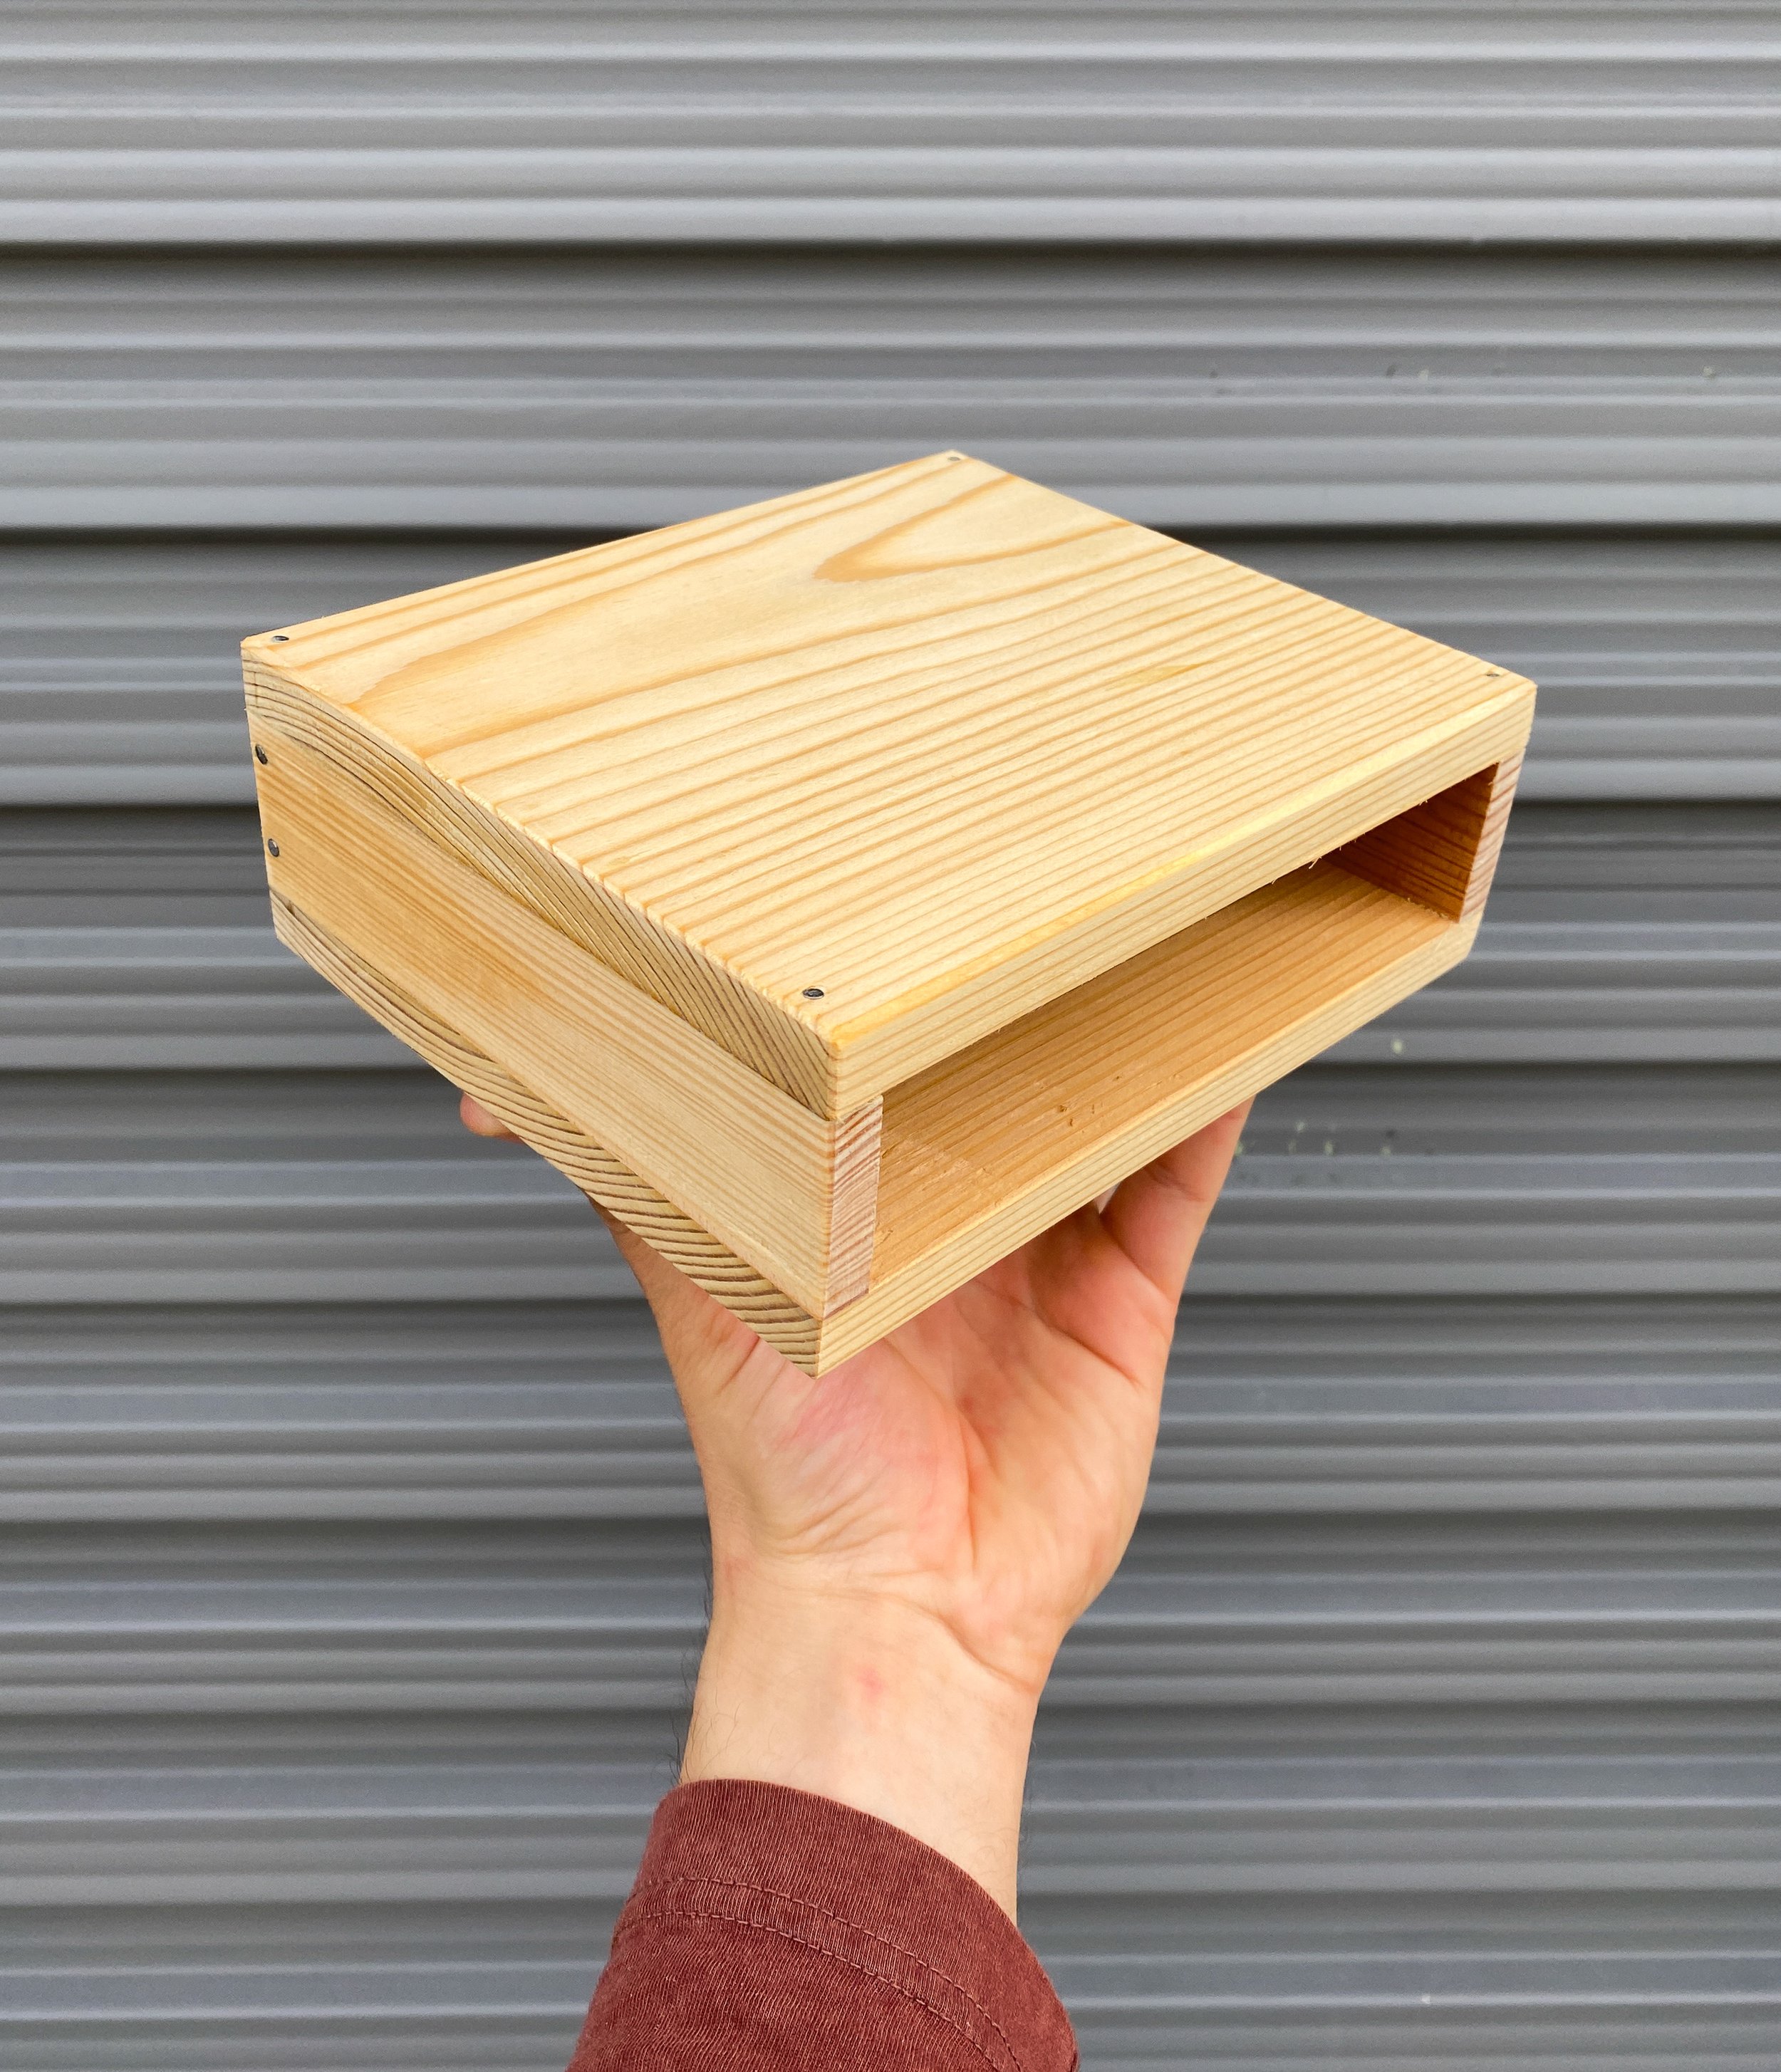
Aside from the reminders it is my first ‘real’ attempt at fine woodworking. I built a couple of things prior for our space but nothing I felt proud about. After my class in Tampa, I felt inspired and confident to build more. This bookshelf utilized techniques that I learned during this class. And while we have a shelf system in our room I have never felt confident in its structure. It racks and we have had a couple of moments where things almost came crashing down. I built it with no plans and only from a drawing I made. Not to mention, it has a large footprint in our small space. So this bookshelf build felt like an appropriate build.


Following Chris’ book has been a great start to my furniture building. His techniques are simple but they have roots in history. This approach helps to ensure the furniture is built well. Sure, there are thousands of plans I could have chosen from. But this design spoke to me because it is not only beautiful but stout. I wanted something that I could have for life. Not something I’ll buy and have to throw away in two years. I am of the mindset that the things we own should be good things. Things we can have for a lifetime and/or pass on. A lot of consumer goods today are cheap. With the idea in mind that you’re going to throw them away and buy another. Sure, it sounds convenient and cheap. But wouldn’t you rather have something that does the job well and is durable? A good example of a durable good on this project is the nails I used for it. They are made in France and I can only seem to buy them from a store based in Canada. Aside from following Chris’ instructions, I chose these nails because they hold well. They move with wood in the seasons. And they add a beautiful decorative touch to the shelf’s carcase.


During the build, I hit a snag and had to make some changes to the backboards. This required me to use more nails than anticipated. Unfortunately, this was right around Christmas. So the extra nails I ordered took time to come in from the supplier. I shared this obstacle online. Some people thought I was abandoning this project. Or some made statements that I should be using screws instead of nails. One of the downsides to sharing anything on social media is the unsolicited advice. This comes with the culture of social media. But this should never deter you from doing things your way. Or completing it.


Now that the bookshelf is in our space, I can look at it daily. To remind me of all the things it taught me in its month of conception.

A dove and its tails by Ryan Semple

This year I started working on a series of works for a solo show. Birds are my focus but what I’m actually highlighting is the marriage of my art and woodwork. While you can see them as one and the same, the approaches to them are very different. Art is loose and thrives on expression. Woodworking is more rigid and requires more measurements. Sure the approaches can be interchangeable but I can be a purist sometimes. So when building a box or frame, I want to do it the way a fine woodworker would. And vice versa, when I illustrate I want to convey an expressive image the way an illustrator would. Switching my mindset through each piece for this series has been a doozy. Many times through this series I’m working too loose or too rigid in specific steps of the work. I have been embracing the flaws in my work more. Because most people won’t notice your screw-ups but if they do they might have a good chuckle out of it. And that's fine because, at the end of the day, it’s art. Not an airplane.


I started working on this piece back in August. Though the idea for it came months before. I had been sitting on this wood it's carved from for a while. I knew I wanted this to be for the dove in the series but wasn’t sure how it was going to look. My first idea was to carve a dove’s tail, rather than the whole bird. I drew out some ideas to get a sense of how it would love but without altering the wood, I felt it wasn’t very enticing. Of course, I started to draw doves but then I thought they were following a trend. Most often, illustrations depict doves flying. While I love that birds can fly, I felt for this dove that wasn’t original enough. Going into this piece, I knew two things I wanted. To use the wood intended for it & making a frame using dovetail joinery. With these points in mind, I led myself to make a dove that was in a resting position. Because I wanted the joinery on this piece to feel as loud as the carved dove. In a way, it feels like the dove is not trying to draw attention to itself.


I wanted to stray from the idea of a flying dove in its synonymity with certain religious groups. While I have no quarrels with that symbolism, that's not what I wanted this piece to represent. Aside from showing off dovetail joints, I wanted to show off my own rapport with rest. Living in a culture where ‘content is king’ and ‘hustle culture’ I wanted to oppose that and brag about how cool rest is.


There is irony in that representation. Because I worked a lot on this dove. The carving took much longer than expected. Due to my own procrastination but also because I knew a lot of sanding was going to happen. And then building up the courage to cut the dovetails was nerve-wracking. I watched all the videos I could on cutting this joint. No amount of information was going to triumph over the act of cutting these things. I took a couple of test runs and then during my class in Tampa, I got to cut dovetail joints for my toolbox. After cutting those I felt more confident to tackle the ones for this frame. And by no means are these suckers perfect. But being one of my first serious dovetail joints, I’m content with them.


This is the fourth bird in a series of twelve. As I continue this series, I hope that the marriage of my two worlds will converge and feel homologous.

A dovetail joint. This type of joinery pre-dates written history. It carries value in its appearance and strength. Tails are made of cherry wood and the pins are made of walnut wood. I chose to use two different woods to emphasize this joint even more.

Looking back by Ryan Semple

Pocket sized :)

Yesterday Sam and I reorganized our space. While going through things, I came across a wooden spoon I had carved back in 2020. This spoon is carved from walnut wood. This wood had come from a guy named Sean. He was a spoon carver and focused on Swedish-style eating spoons. He had access to green wood (wood that had been freshly cut and still has most of its moisture). While I had carved some spoons from dried wood, I wanted to attempt working with green wood. The spoon carvers online said working with green wood was ideal. Because some hardwoods, like walnut, were easier to carve when still wet.


With much desire to tackle this goal, I reached out to Sean and purchased some walnut wood from his backyard. He sent me about 6 chunks of walnut. Sean has a great video on how to rough out your spoon from fresh green wood. This process involved a hatchet and an axe block (a stump used for carving). The spoons I had carved up to this point had a flat profile. I wanted this new batch of spoons to scream that it has the proper function of a spoon. The best way to do this was to consider the anatomy of a spoon. Of course, you have a bowl and a shaft. What the other spoons lacked was ‘crank’ This is the name of the angle between the handle and the bowl. You can think of it as the neck of the spoon. Depending on the use of the spoon is what dictates how much crank you want. Cooking spoons don't need much while eating spoons usually have greater crank. Eating spoons are ergonomic and do their job better. Consider the flatware you have at home. Your spoons are flat and reminiscent of every spoon you've ever eaten with. Now think of a spoon you would have at an Asian restaurant, these spoons are generally used for soup. Picture those spoons in relation to each other. That soup spoon has a greater crank than your flatware. While both do a great job at being spoons, I find the spoons with more crank more attractive.


This chapter on making spoons was short for me (a year). I learned valuable knowledge about wood grain and spoon carving in Sloyd education. I gifted a couple of spoons and sold off all but the spoon pictured. It is my favorite of the spoons I carved because it achieved the sexiness I yearned for in a spoon. I am confused why this spoon never sold. Had it left I wouldn't have been able to tell you about a spoon’s crank or share this bit of history in my journey.

Dutch Tool Chest: COMPLETE by Ryan Semple

Earlier this year, I was perusing woodworking classes at the Florida School of Woodwork. I found they were offering grants for a couple of courses. One of them was making a Dutch tool chest and the course was being taught by Megan Fitzpatrick. Someone I admire. Immediately I began filling out my grant application. About a month or so later, I received a call from a board member that helps select who these grants go to. By whatever forces lead the universe, I was fortunate enough to receive one of these grants. Come October, I made the trek over to Tampa and spent the week at the school. Classes were 9 AM to 5 PM (some of us turtles stayed a little longer).


The whole experience was great. Megan is a fantastic teacher. She helped me to see how I could work around some of the obstacles I encountered while making my tool chest. I got to cut some joinery I’ve never attempted as well as use a mix of fun hand tools (router planes rule). The week sped by and before we knew it the last day was upon us. While we got 90% of the work done, we didn’t get a chance to build out some of the inside components. Megan gave us an overview and even showed some examples. With this knowledge headed home, I was eager to finish this up.


Upon my return home I had to work on a mural for a client out in Celebration (more about that in a future blog post). Coming home with the itch to keep building and having to be away for the week to do this mural tested my patience. When it finally came time to start building it out I felt this immense satisfaction. That 90% of work was going to get its remaining 10%. This chest was going to house all my hand tools and I wanted it to look great while doing so. I took it slow with this part of the build because the interior was going to be French-fitted. Which meant each tool would have its place in this box. First came the tool rack. This holds chisels, gouges, marking tools, and my slotted screwdriver. Next, I built out a cubby system that would hold my block and jack plane. The most tricky was making a saw till. I started off using Japanese saws so it's what I am most comfortable using. They are also inexpensive compared to their Western counterpart. What made this hard was the examples online of interiors showing set-ups for western saws. Making the slots for the saw blades was a simple maneuver on the bandsaw. The challenge was all the weight of these saws being in the handle. I drew out a couple of ideas on what would hold these saws parallel and test-fitted them with the saws. After many cuts and much clean up later, I achieved the result I wanted. I was going to nail the saw till to the plane’s cubby. Then I thought about what I learned in the class. So I took the chance of making some dados to join these two systems and it worked like a charm.

Now every time I use my tools I can remember all the techniques used on this chest and remind myself that I built this.

Last day of class. The bulk of the work was done but the interior looks barren.

Full body view. Check out the beautiful cast iron handles.

The whole gang is here.

Done is better than perfect by Ryan Semple

While picking up wood for another project I have going, I snagged this scrap piece of cherry wood. I saw potential with it for some things I wanted to try. Since last year, I wanted to carve a small tray. Would it be for tea? For food? I didn’t take all that into consideration. All I was looking for was a reason to carve. I knew the idea would form around that. From the start, I knew I wanted the top to have a tooled look. This means leaving the mark from my gouge behind. This does two things: shows the thing is carved by hand and serves as a beautiful decorative element. Sometimes, the tooled surface can be great for keeping things from rolling off. I suppose there is a practical factor to it. My original idea was to have the tray made from this solid piece of wood. I ended up carving a shallow mortise in the bottom of the tray joint with another piece of cherry to serve as a stand. This gives the tray a floating effect.


I didn’t get to touch this tray for about a month because I was caught up in client work and personal things. Those didn’t stop me from thinking about finishing this tray. I have been making an effort to see all my projects through. Even the ones that don’t come out all that great. During the month hiatus from the tray, I thought about which experiment I wanted to conduct on it. While cherry carries a beautiful color, I wanted to alter the color. Sure, you can use natural stains but what if we took it a step further? My first consideration was to fumigate the wood with ammonia. There is a great article here that goes into the science behind it. In layman’s terms, the way ammonia reacts with wood would achieve a unique finish. The second consideration (which is what I ended up doing) was to oxidize the wood. I attempted this by boiling the tray in an aluminum foil tray with iron, water, and vinegar. I had seen another creator I follow, Peter Spaulding, do this with a tray of his. When it came down to it, I chose the second method over the first. I didn’t have anything I could fumigate the wood in. I’ll try it in the future.


I ignited my grill, got it up to temperature, and put my foil tray on the grill. I let it sit for an hour. Moving the iron and wood chips to aid in the oxidizing. My biggest struggle at this stage was keeping my fire going. I didn't get enough charcoal wood ready for this task. This ended up being where things went south. After pulling the tray off the fire, I pulled it out and saw it had darkened. It didn’t get the rich, black color I was looking for. It did get some cool black spotting all around that reminded me of spalted wood. While carving the top of the tray, a crack did start to form. Since the wood was immersed in water and cooled after boiling, it seems to have enhanced the fracture. I want to seal this gap. If I can get my hands on a kintsugi kit, I would love to add that to this tray.


I’m not in love with how this tray turned out. I am happy that I saw it through and took these risks to make that happen. I am trying to execute more risk in my process. You can learn a lot about what you do and don’t like through these experiments. What is the takeaway from this post? Stop letting your fear of failure dictate whether you do something or not. Make the jump.

Genesis by Ryan Semple

It’s 2022 and I am starting a blog post. I'm a little late to the game, but who cares?


The driving force behind this came from my own recent appreciation for reading blogs. What I enjoyed was having a more intimate look into a person’s thoughts. Sure, people do it on Instagram but I thought utilizing my website beyond a portfolio would be worth it. After all, I am paying for the thing. My gripe with Instagram posts is that a lot of it gets lost in the sea of others’ posts. People tend to like and scroll. My hope is that those who care to hear about my work would have a central place to go.


If you’re reading this, thank you for caring enough about me as a person to come this far.